Blog Settings
To get to the Settings control panel:
1, Click on "Customize" on the top right hand corner of your blog
2, Click on "Settings" tab.
3, Go through each section and make changes accordingly. You can leave them as is. However, there are some Formatting settings we recommend as described in the next section.
Formatting settings we highly recommend

1, Show 3 Posts on the main page
2, Show Title field : Yes
3, Show Link fields : Yes
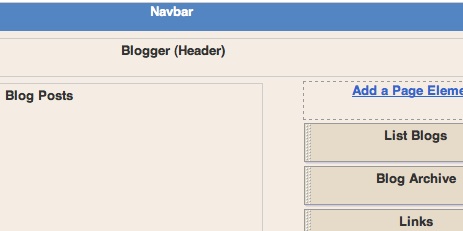
Additional Layout Elements
There are many different things you can add to the side bar such as slide shows, links, a video bar, or Google ads. These might help you provide additional related information for your viewers. You can see some examples in the sidebar of this blog. Each add-on is called a "widget" which can be set up easily within minutes.
To learn how to add these features please check: : Google Help > Blogger Help > Customize Your Blog > Layouts > Layout Guide

Adding Your Personalized Header Background Image
How about adding a picture of you, your team, your local pool hall in the header background graphic?
You can download the header background image of this blog by right-clicking on the icon below. Please feel free to change it any way you like and make it speaks for you!

There is one thing though, remember to keep its dimension (Height x Width) the same to ensure your modified image will line up properly in your blog. Also, you might want to keep the area of your blog title simple so people can read the title easily.
Once ready, follow these steps to upload your header background image:
1, Click on "Customize" on the top right hand corner. You should now be in Template > Page Elements.

2, Find the edit button on the lower right hand corner of the Header layout element. You might have to use the horizontal scroll bar to find it. Click on it. You will see a small new "Configure Header" window that pops up. You will be able to upload your header image here.
-----


No comments:
Post a Comment